
DevLog #10 – Generating happy little sky islands
Hello everyone!
Last week, we explained the recent changes in our game Project “Stasis” and turned it into a shooting roguelite with resource management aspects. In this game, you will explore a total of 6 levels, each one being an archipelago of several islands. So today, let’s talk about how we generate procedural islands!
Height map from a cellular automaton
To create an island, we use a cellular automaton. We first create an empty grid with a given size. We then attribute unique numbers to a bunch of cells that act like seeds. Most of the seeds are placed randomly in the grid, but we also enforce the position of some of them, for example for places where connection portals to the neighboring islands will be generated (this information comes from the level floorplan, but we won’t talk about that today so let’s just assume we know how many islands we have to generate in the archipelago and how they are connected).
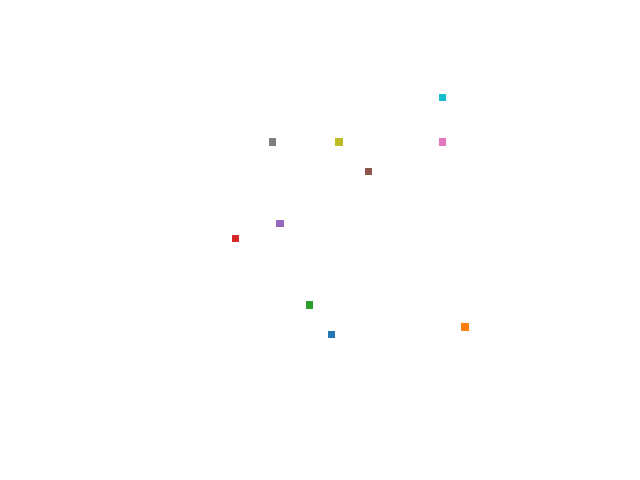
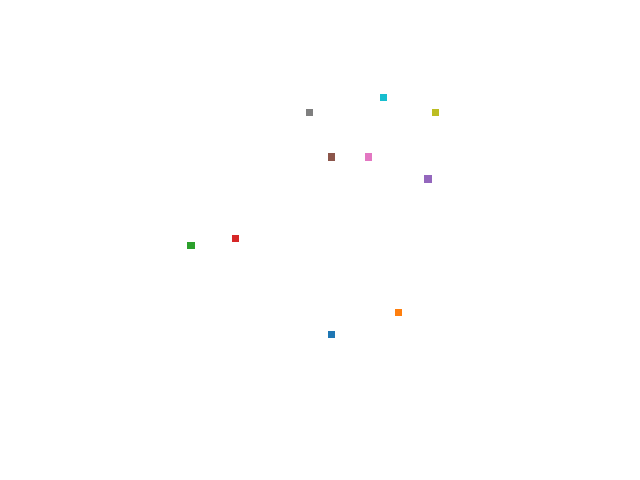
We choose the numbers of cells we wish to have filled in the island. We basically take a random value between 35% and 55% of the total numbers of possible cells. Afterwards, we start the automaton. We compose an initial stack with the seeds. Then, for each cell in the stack, we look at their neighbors and propagate the parent value with some probability. When we fill a cell, we also add it to the stack. The process repeats and ends when we reach the desired number of cells. We thus obtain a bunch of clusters.
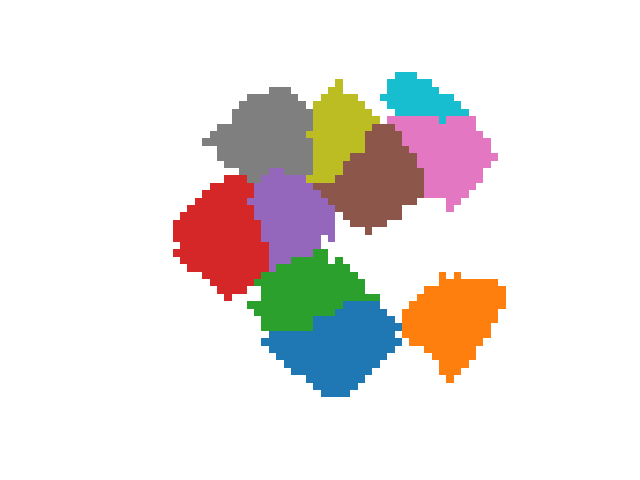
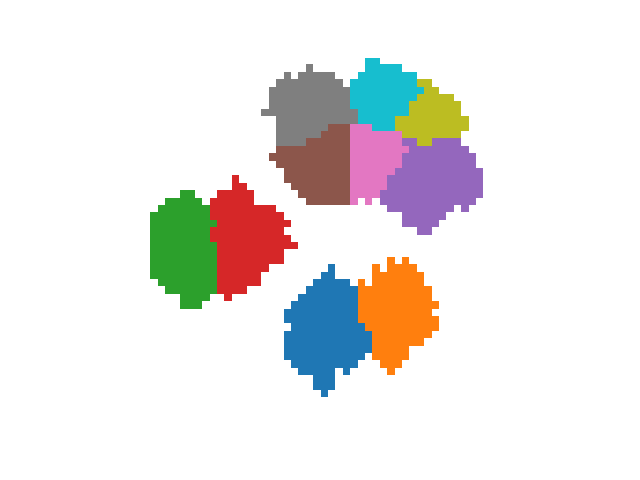
At this point, we iterate on all the grid and perform some checks to smooth a little bit the shape. We may add a few more cells or remove them to try to avoid sharp edges or isolated blocks. We can run this step several times to refine the smoothing. However, because it can hamper performances, we execute it only once or twice and found out that the result was most often good enough.


In the next step, we have to give each cluster a height value. First, we sort the clusters by the y coordinate of their seed. We attribute height 1 to the first cluster (the most at the front) and then attribute to each cluster the height of the previous one that we increment or not randomly. We proceed this way because of our top-down view. With low-height clusters at the front and high-height clusters at the back, the maps appear more readable.
In the end, we obtain a grid of clusters ids and a map from clusters ids to height values. Well… that’s almost a datamap! If you did not read our previous devlog, you should simply know this is a mapping from coordinates to heights and texture ids that we can feed to our terrain generator to produce a bunch of Godot GridMap nodes. This is how we produce 3D levels. In the current case, we are simply missing some texture information to build our datamap. Let’s take care of that now!
Adding some biomes
We load a dictionary that contains data describing all the different existing biomes of each level. It looks like this:
const BIOMES = {
	0: [
		{
			"name": "bluish_forest_deep",
			"texture": 1,
			"wall_texture": 0,
		},
	],
}
The texture ids refer to the tilemap information from which we built our mesh libraries, as explained in our dedicated devlog. When we have our seeds for the cellular automaton, we simply attribute a random biome id to each cluster, which gives us the texture ids to use to build our datamap. Once the datamap is ready, we run our terrain generator algorithm, and we obtain a map as expected!
However, the process does not end there. We want to add some objects like trees. Let’s start by defining a list of potential spawning positions. We basically sample the base filled grid by keeping one cell every two or three. This ensures the spawning positions are somewhat far from each other. Then we iterate over all the spawning positions and look at which biome they belong to. Depending on the result and on randomness, we instantiate an object we previously designed at this position. For instance, we may add bushes in some biomes but rather tall grass in others.
Whenever we add an object, we also keep this information in a separate matrix that serves as a collision map. We fill some cells to indicate the presence of the object and also some neighbors in a given radius to induce some more spacing if needed. Before adding any object, we check this collision map to see if the cell considered is eligible. If we want to spawn an object that is more than one tile wide, we also wish to check if all covered tiles are at the same height. We don’t want half a bush to be off a cliff.
Maintaining the collision map is slightly cumbersome but essential: this is data we forward to the scene and use afterwards for A* pathfinding. We will probably give a little more details about that in a future devlog.
Drawing the map
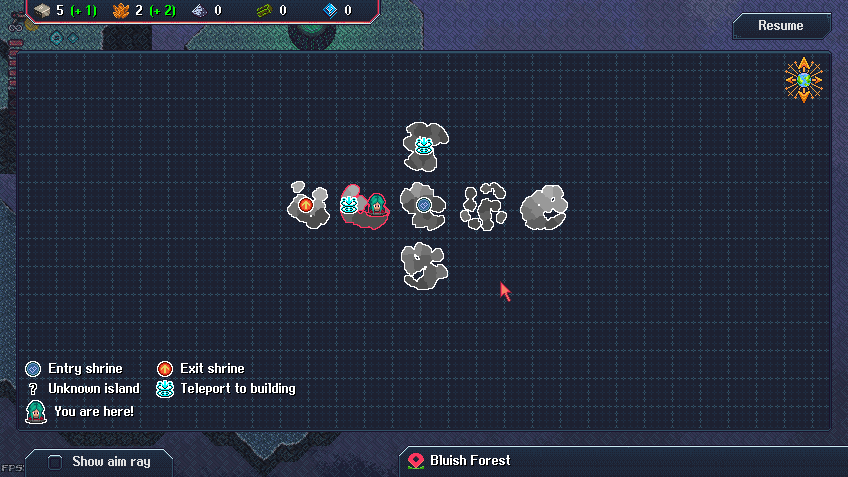
We use the base grid information along with the height values to draw a picture of the island for the map menu. We simply fill pixels with different shades of gray depending on the height, as illustrated on the screenshot below:
The final result in pictures
Let’s now have a look at some generated islands in-game!
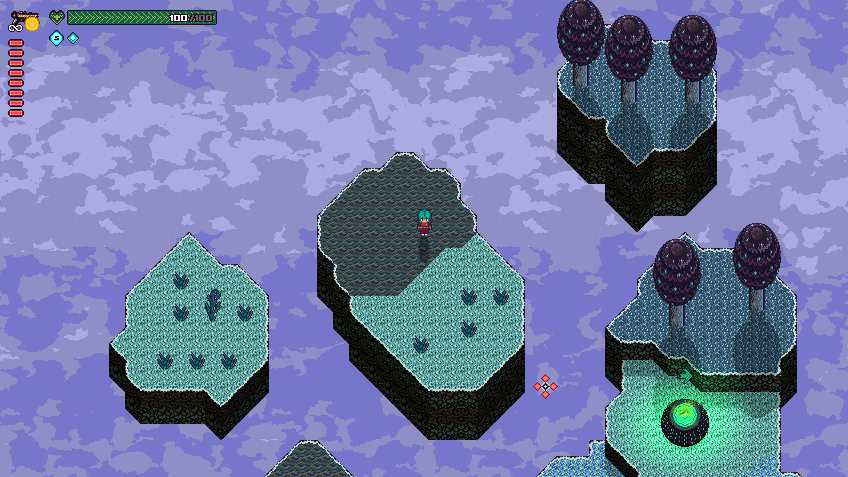
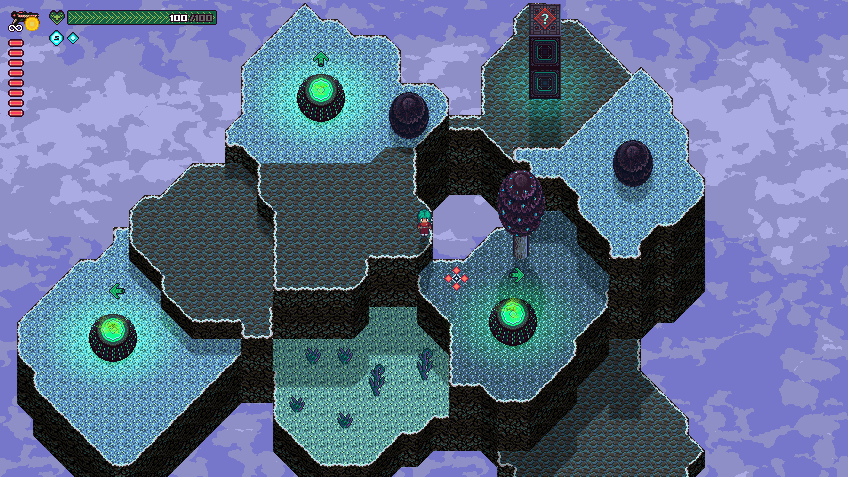
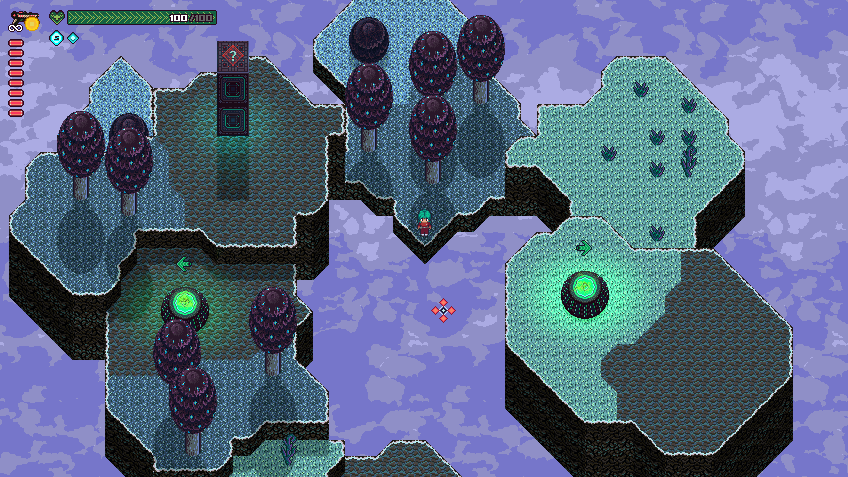
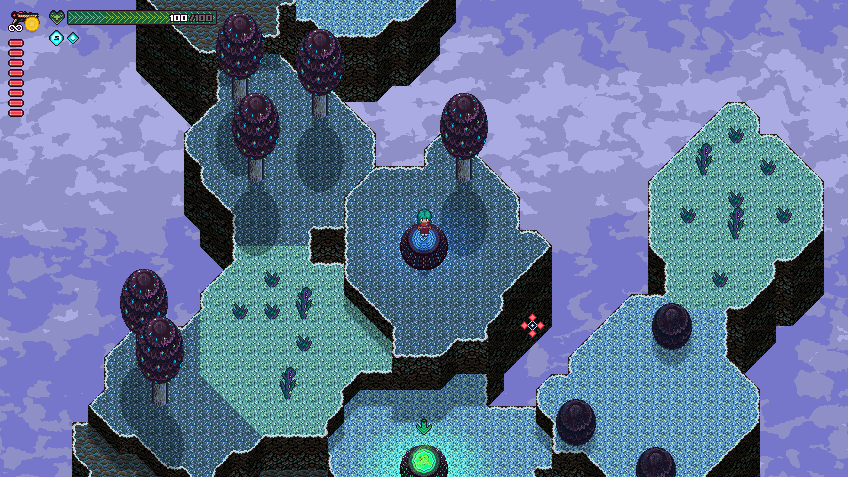
We are very happy with the current result. In the future, we can refine it by adding more biomes and some nice effects to reinforce the immersion (blue fireflies maybe? please share your ideas in the comments!). We won’t add too much movement or animations to the environment because we don’t want to distract the player during fights. Contrast is important: enemies and bullets are what should draw the attention first. However, we believe even subtle details can create a charming atmosphere.
Thank you for reading this far, and see you soon for another devlog!